ERES + Fluentd かんたんログ活用術の第3弾です。前回の記事で指定ファイルにログを収集しました。ただ、ファイルへの出力ではチャートやレポートのデータソースとしては使いづらいです。そこで今回はDBを出力先として指定し、DBにログを収集してみます。
DBにはPostgreSQLを使用します。このDBにログ情報を送信するためにプラグインを追加します。使用するプラグインは「pgjson」です。PostgreSQLにJSON形式で情報を出力するプラグインです。
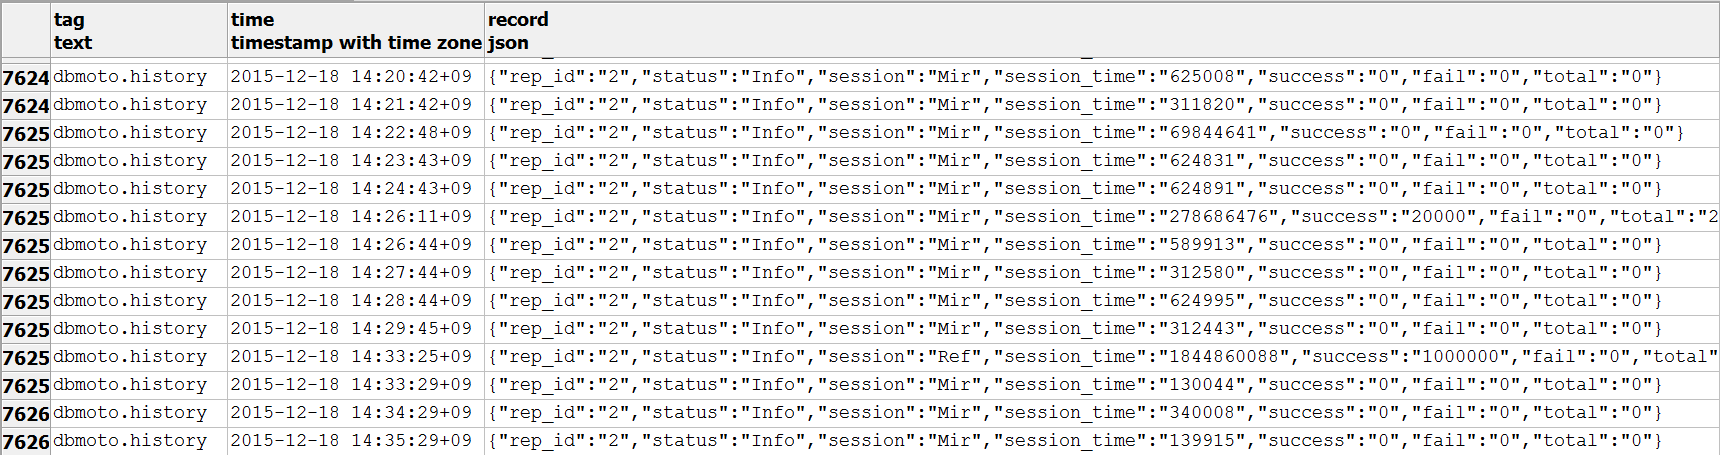
事前にPostgreSQL上で格納先となるテーブルを作成します。タグとタイムスタンプとログ情報を入力するカラムが必要です。
CREATE TABLE fluentd (
tag Text
,time Timestamptz
,record Json
);
tag Text
,time Timestamptz
,record Json
);
次にプラグインの追加ですが、このプラグインに必要なソフトウェアを先にインストールします。
$yum groupinstall “Development Tools” –y
$yum install postgresql postgresql-devel –y
$yum install postgresql postgresql-devel –y
プラグインを追加します。
/usr/sbin/td-agent-gem install fluent-plugin-pgjson
インストールが完了したら、環境に合わせてFluentdの設定ファイルを変更します。
<source>
type forwardtype pgjson
</source><match dbmoto.history>
host **.**.**.**
port 5432
database climb
table fluentd
user climb
password ********
time_col time
tag_col tag
record_col record
</match>
type forwardtype pgjson
</source><match dbmoto.history>
host **.**.**.**
port 5432
database climb
table fluentd
user climb
password ********
time_col time
tag_col tag
record_col record
</match>
設定を反映させるため、サービスを再起動します。
$ /etc/init.d/td-agent restart
テーブルを確認すると、今までファイルに出力されていたログがDBに出力されていることがわかります。
その③ フィルタリングにつづく

 RSSフィードを取得する